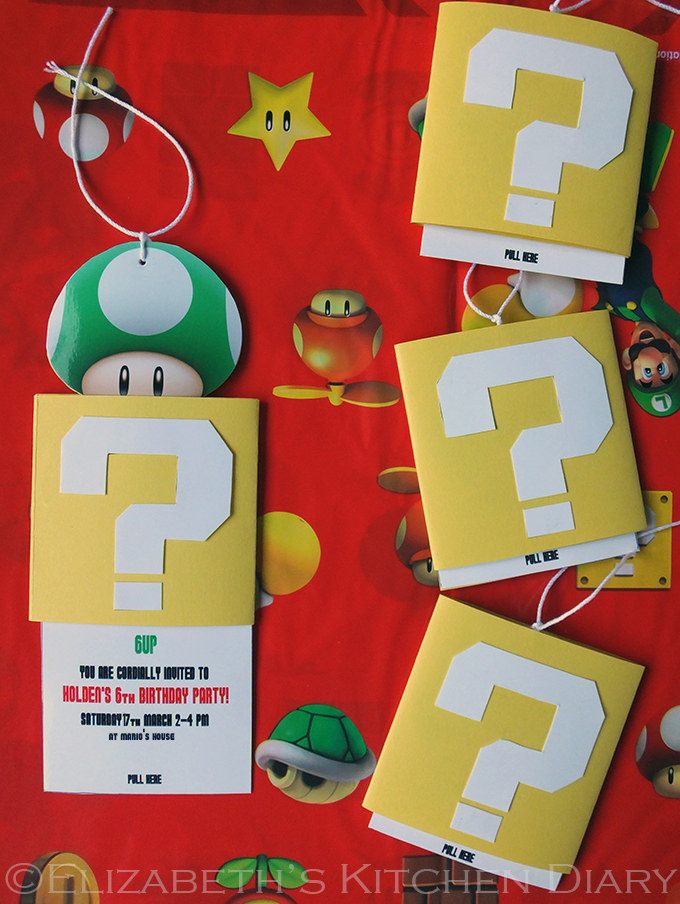
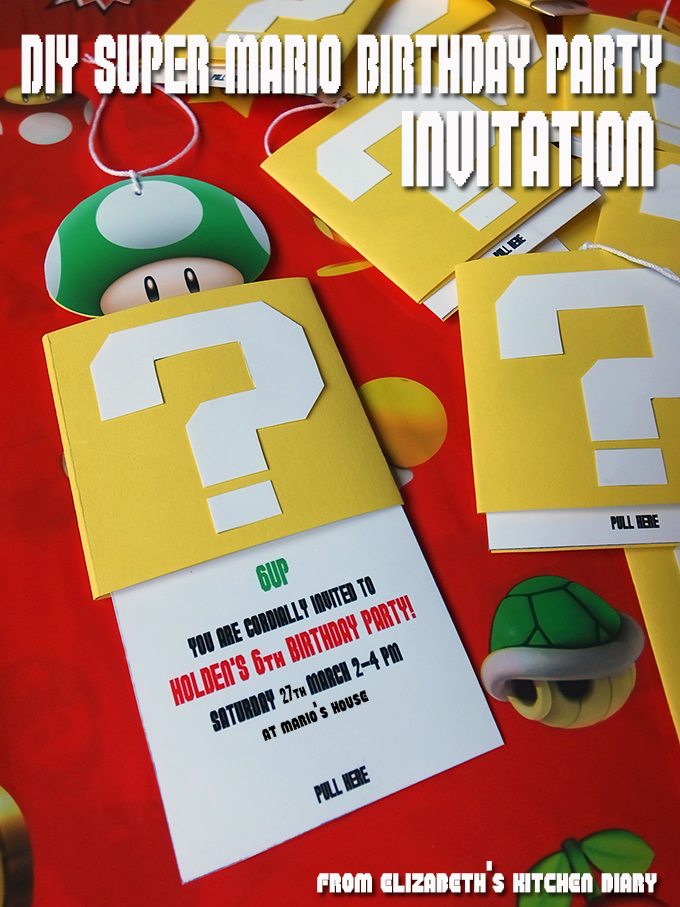
Impress your guests before they even get to the party with these DIY Super Mario Birthday Party invitations! Pull the tab at the bottom of this fun, double-slider birthday party invitation and a 1UP pops out of the top!
Prep Time: 1 hour
Makes: 4 invitations
Difficulty: Easy
A Super Mario Bros Birthday Party
I never had a birthday party growing up. Big birthday parties weren’t the done thing in Canada back in the late 80’s/early 90’s. I never attended any of my classmates’ parties either. I was not even aware of them having any. However, there was always a birthday cake and a lovely meal at my grandparent’s house to celebrate the passing of the years. We never had the parties you have now, here in the UK, where the whole class is invited.
My children don’t get a full-blown party each year, either. Usually, it’s a friend or two invited over for cake and ice cream. When we do throw a party for the whole class to attend – we throw a party!
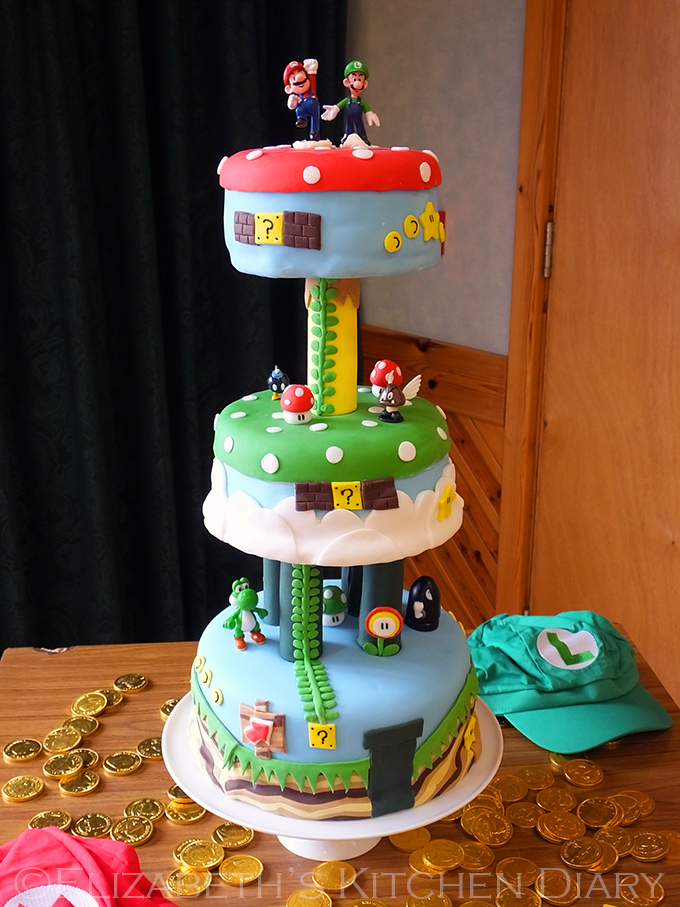
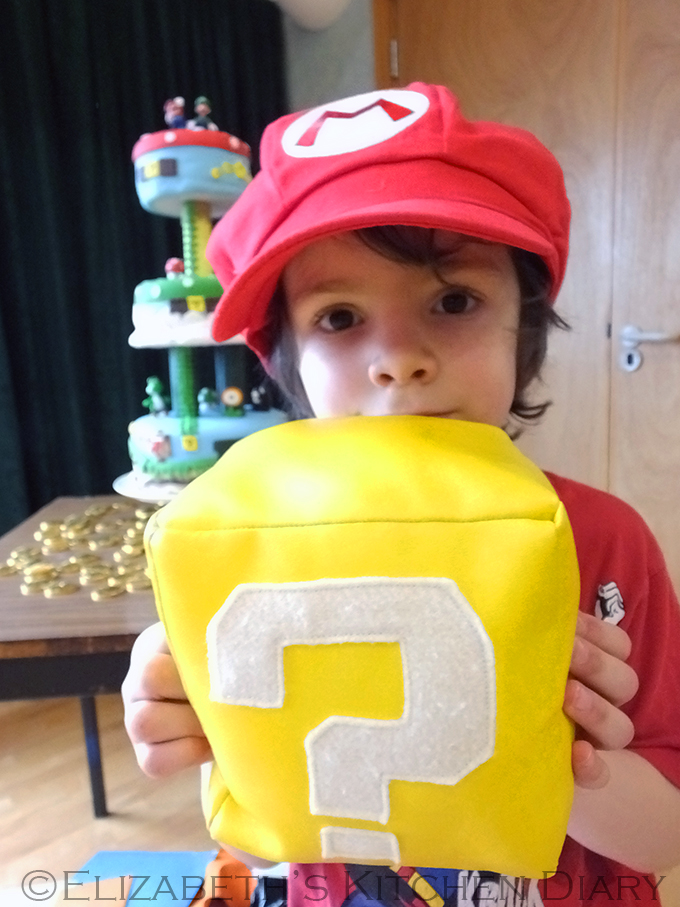
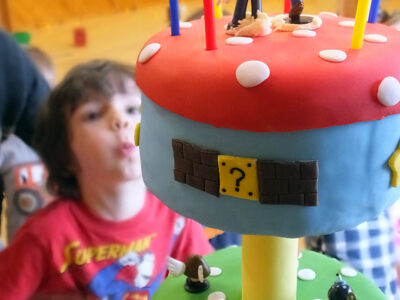
Our little man turned six years old earlier this month. We thought it was nigh time he had a whole-class birthday party. The theme he chose: Super Mario Bros.
Check out that cake! Before the party we were looking through Google Images for cake inspiration. The birthday boy saw a Mario wedding cake and he wanted that – nothing else would do. So I made one! 🙂
Inspiration for the Super Mario birthday invitations
I can’t just do things by simple measures, either. I like getting creative with every aspect of the party – including the invitations. A quick Pinterest search for inspiration led me to this blog post by Celebrate the Big and Small. She’d made a really nifty double-slider card invitation. Immediately I had my heart set on making those, based on a YouTube slider card tutorial by Sari Hänninen.
I’ve changed a few aspects of the cards. I also kept track of every step in the process to share a tutorial with you all. I hope you enjoy!
You’ll need to download the free font Super Plumber Brothers by Jackster Productions for the invitation text itself.
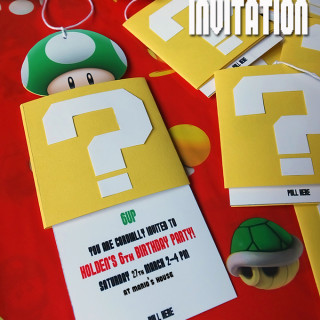
DIY Super Mario Bros Birthday Party Invitation {A Step-by-Step Tutorial}
Ingredients
- 1 ruler
- 2 sheets yellow craft card
- 1 sheet photo paper
- 1 Pritt stick glue
- 1 thick plastic bag
- 1 4 mm roll double sided tape
- 1 white string
- 1 paper scissors
- 1 printer and coloured ink
Affiliate Links
This recipe card may contain affiliate ingredient and equipment links. As an Amazon Associate I earn from qualifying purchases.
Instructions
- Draw out the card template on your sheet of yellow card: 21 cm long and 6.5 cm wide. Pencil in where the folds will be – there will be 3 x 6.5 cm squares plus a little bit on the end for taping the card shut.

- Cut out each of the cards, making sure to leave the little edge to tape the card shut.

- Valley fold along each of the lines.
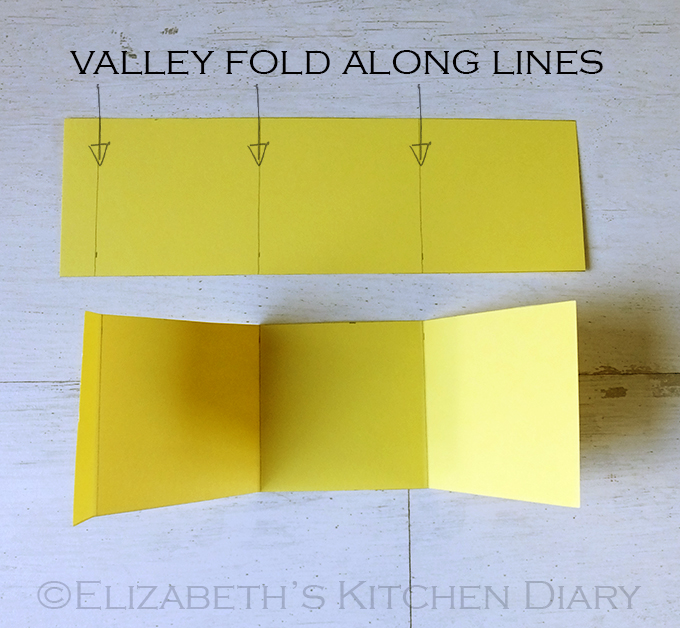
- Cut out one 6 cm square for each card. Cut out one 6.0 x 7.0 cm rectangle for each card too (not pictured).

- Go to Google Images and search for a 1UP image to your liking. Save to your computer. Open a Word Document (or equivalent) and insert the image manually selecting the image width to be 6.0 cm. Copy the text boxes and paste next to each other to fill the document if you are making many invitations. Print off using photo paper, selecting the highest quality ink setting.
- Cut out each of the 1UP mushrooms leaving a 1 cm white piece on the bottom. Glue to the 6 cm square yellow craft card and cut out.

- Affix a piece of double sided tape to the back of the bottom edge of the 1UP mushroom. Set aside for now.

- Download the Plumber Brothers font, link is in post above. Open another Word Document and create a text box 6 x 7 cm. Using the free font, write in your birthday party details. Make sure you include a PULL HERE along the bottom edge. Print off on photo paper and cut out. Glue the printed photo paper invitation to the 6 x 7 cm piece of yellow craft card.

- Cut out one 5 cm x 15 cm strip of plastic per invitation.

- Add a piece of double sided sticky tape to the bottom edge of the plastic. Line up the plastic under the first square section of the yellow craft card you cut out earlier.

- Stick the two edges of the plastic together with the double sided tape, loose enough so that the plastic will slide. Keep the join near the top edge.

- Add a piece of double sided sticky tape to the top of the invitation card. Make sure the length of this tape is shorter than the width of the plastic (or else it won’t slide open!).

- Remove the paper off the double sided sticky tape on the invitation print out. Place the card onto the middle section of the folded card, top edges aligned. The PULL HERE will be visible peeking out the bottom. Fold over the side with the plastic. The sticky sided tape will stick to the plastic near where the join is on the back. Remove the paper on the double sided sticky tape on the 1UP mushroom and place on the plastic with the top edge of the mushroom aligned with the top edge of the card. Press firmly to stick together.

- Affix a piece of double sided tape to the edge flap on the card and stick shut. I just folded it over the back of the card, but you could tuck it inside underneath the plastic layer, if you wanted.
- Open another Word document. Search Google Images for the Super Mario Question Mark, save to computer, and add image (you may need to crop the size first) so it is 5 cm in width. Print off on photo paper or white craft card, cut out and glue to the front of the card. I added a short length of white string to the top of the 1UP mushroom to help open the card, as I found the plastic did not slide well without it.
 Grain-free Almond Pancakes
This is so cool! I’d love to try do something like this.
http://www.cattitudeandco.uk
This is really amazing I think I am going to try out this one. I was a fun of Super Mario when I was young and this will be amazing to try and remind myself those days. Thanks a lot for sharing.
Cindy
I really love these ideas for the invitations and the party. Way to go!
That cake is absolutely amazing and so are the invitations my sons would love them, I’m not sure I would be able to make them look that good though, I’m not very creative!
Awesome invitations Elizabeth, Great work!
Thank you Martina 🙂
Very cool and creative
Thank you! Looks awesome and such clear instructions, Dominic would love this for his Bday! Chuffed to bits to have found this post!
Love it! Thanks for the idea.
OMG, that cake looks so amazing, my son would love a cake like that.
The cards are amazing and I think would really be appreciated – something different!
Growing up playing super Mario in the PlayStation, I love it and it is beautiful. This invitation embodies the youthful of the celebrant. Thank you for this inspiration.
Holy cow! Those are amazing.
Yet more of the internet I have to keep my kids away from so they don’t see how rubbish this dad is lol.
Must try harder for this years parties, something like this would sure get the kids noticed at school (or rather me as a parent).
So clever! When I first saw them, I thought you’d bought them as they look so professional. Brilliant!
Wow Elizabeth , that is one awesome cake!
When my daughter turned three , she was obsessed with lizards. Needless to say that year her b-day cake was covered with neon plastic lizards on a bright pink cake
Wow look at that cake!
Great post and I love the idea. I loved Super Mario when I was younger.
The Life of Leeshastarr
Lovely invitations Elizabeth and what an impressive cake!!! 🙂
Those invitations are so much fun, my OH who is considerably older than your son thinks they’re really cool and is a bit jealous he didn’t get a Super Mario party for his last birthday!
That’s a fabulous cake and I love the invitations. I have always enjoyed crafty stuff, though I tend to prioritise the blog, and a few other hobbies more highly, so I seldom get to do much. I need to do more, as I always enjoy the creativity.
That cake looks amazing!
Ashleigh x
Being Ashleigh Blog